

Create Facebook Catalog
Create a Meta Catalog to sync your Shopify products and use them in dynamic ads and shopping experiences.
Overview
Create a Meta Catalog to keep your Shopify products synchronized with Meta for advertising and commerce.
From this guide, you will:
Connect your Meta Business account.
Create and configure a Meta Catalog.
Link your catalog to a Meta Pixel.
Verify that your products are synced successfully.
Create Catalog
Step 1: Open Catalog Manager
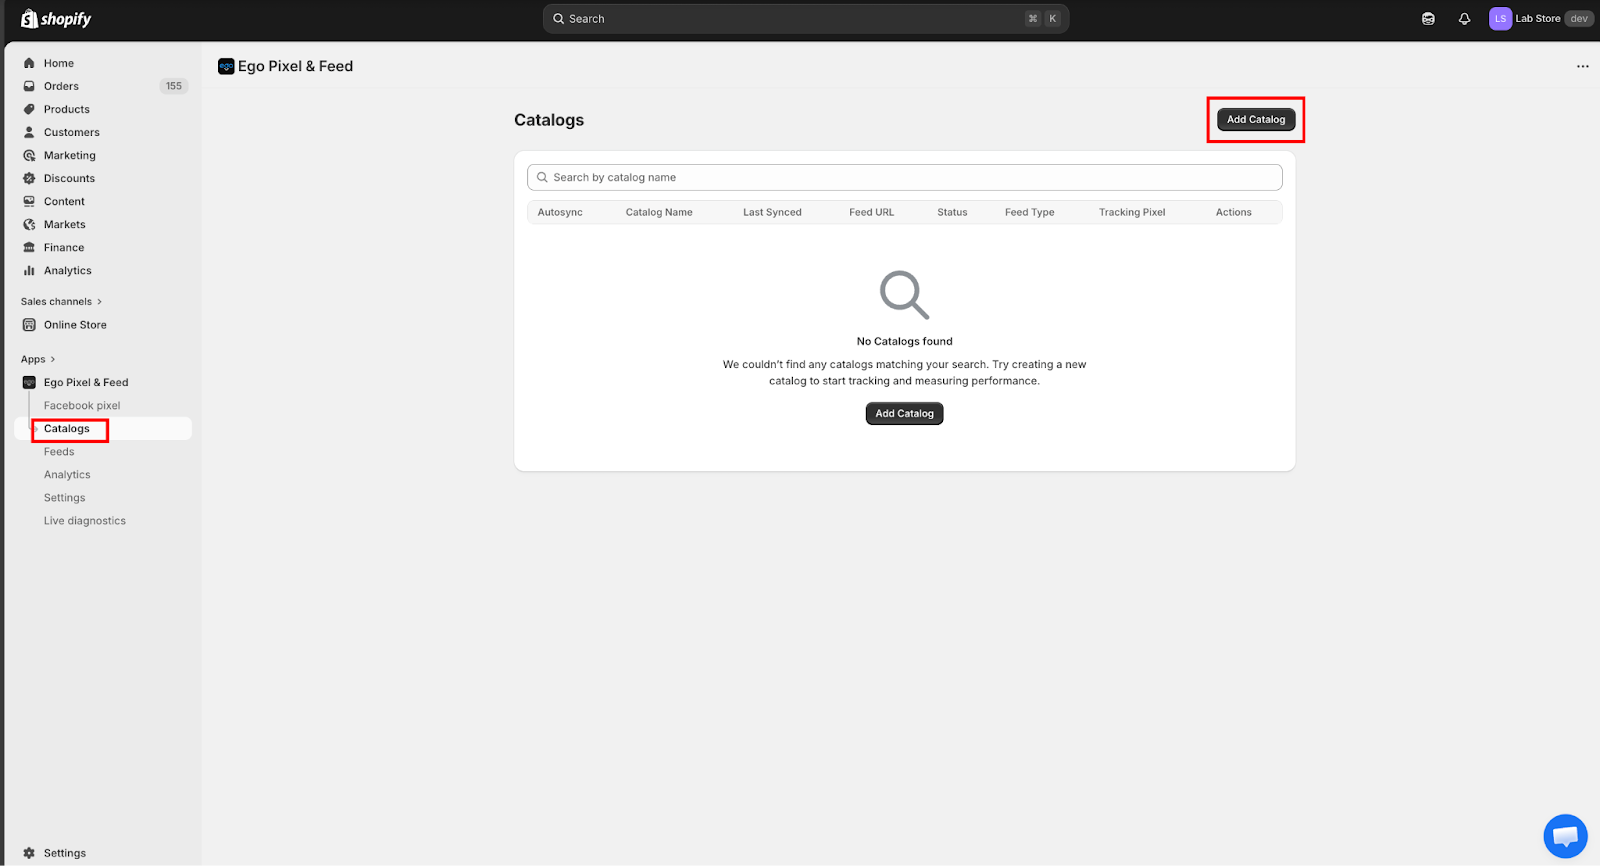
In the app dashboard, go to Catalog Manager.
Click Create Catalog to start creating a new catalog.
Step 2: Connect your Meta account
Before creating a catalog, you need to connect your Meta (Facebook) account.
Log in to your Facebook Business account and grant permissions.
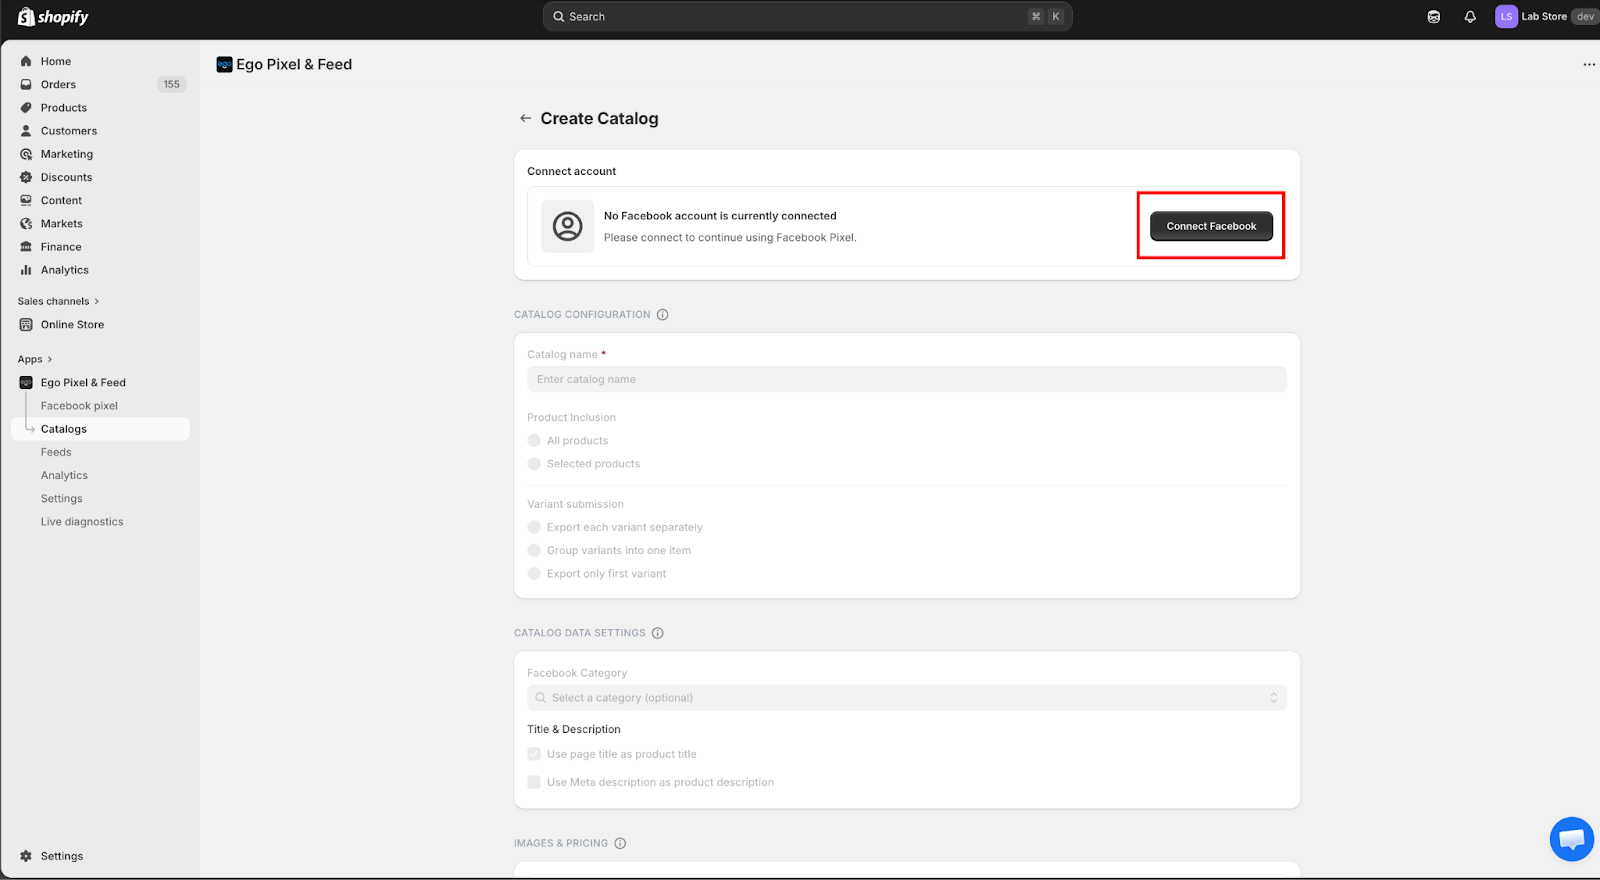
=> Once connected, you can create and manage catalogs directly from the app.
Step 3: Enter catalog information
Business Account – Select the connected Meta Business account
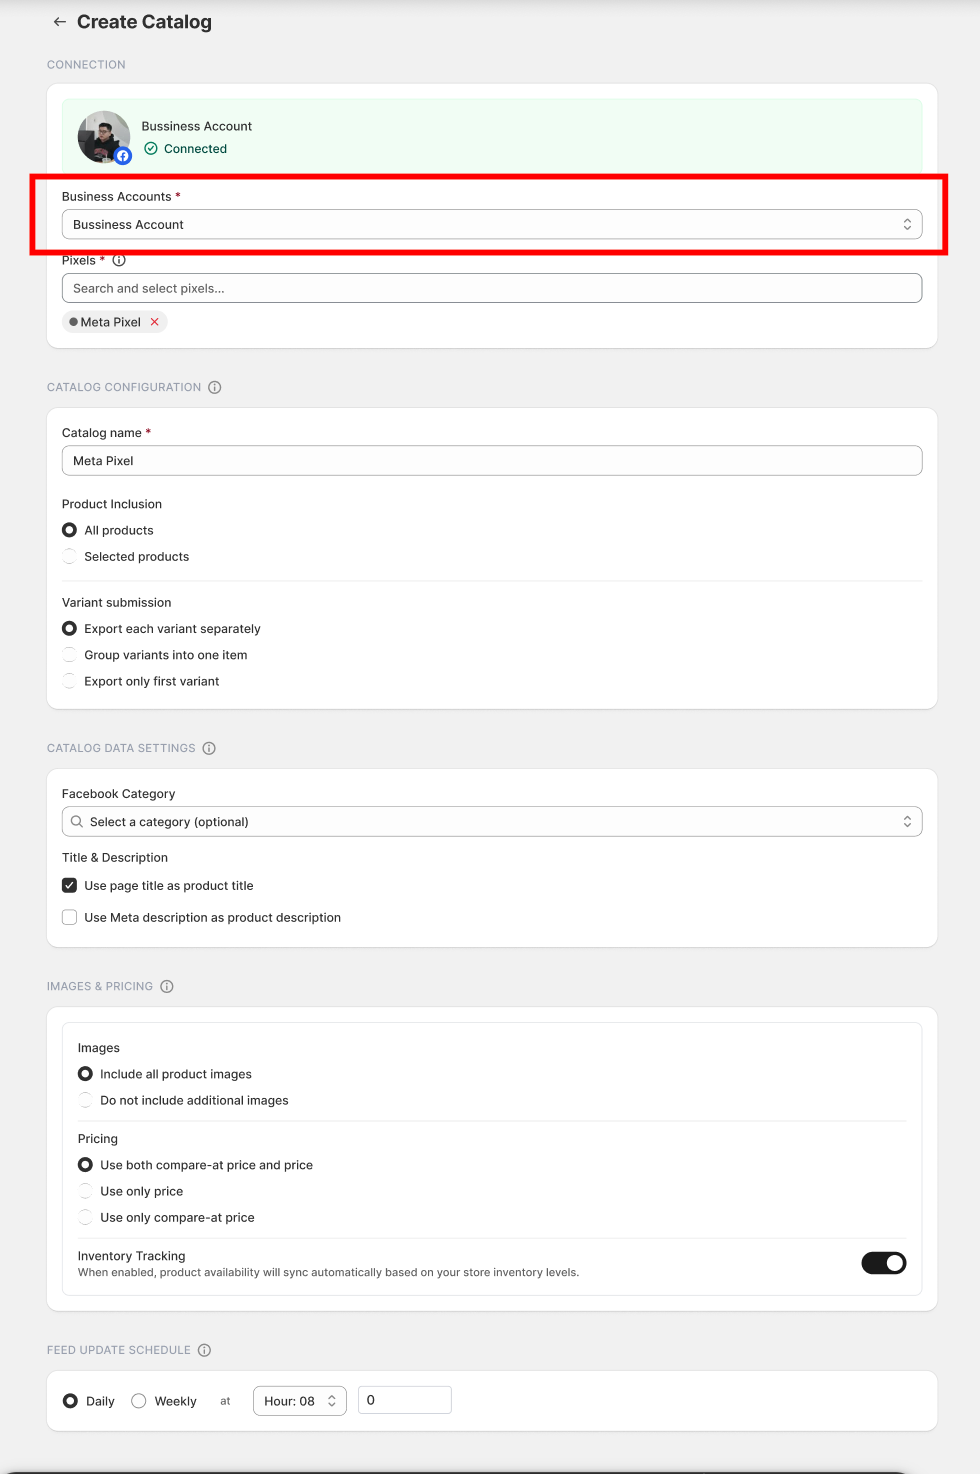
2.Pixel – Select the Pixel you want to connect with this catalog
Best practice: We recommend connecting only one Meta Pixel to each catalog. Using a single pixel helps ensure accurate event tracking and improves product matching for Dynamic Ads.
According to Meta Platforms documentation, a pixel should be associated with the same catalog used for advertising so that events such as ViewContent, AddToCart, and Purchase can be correctly matched with catalog items.
https://www.facebook.com/business/help/1275400645914358

3.Catalog Name – Name of your catalog

Step 4: Configure Catalog Settings
After entering the catalog name, configure the catalog settings:

=> Then click "Save" to save the catalog.
Step 5: Verify the catalog
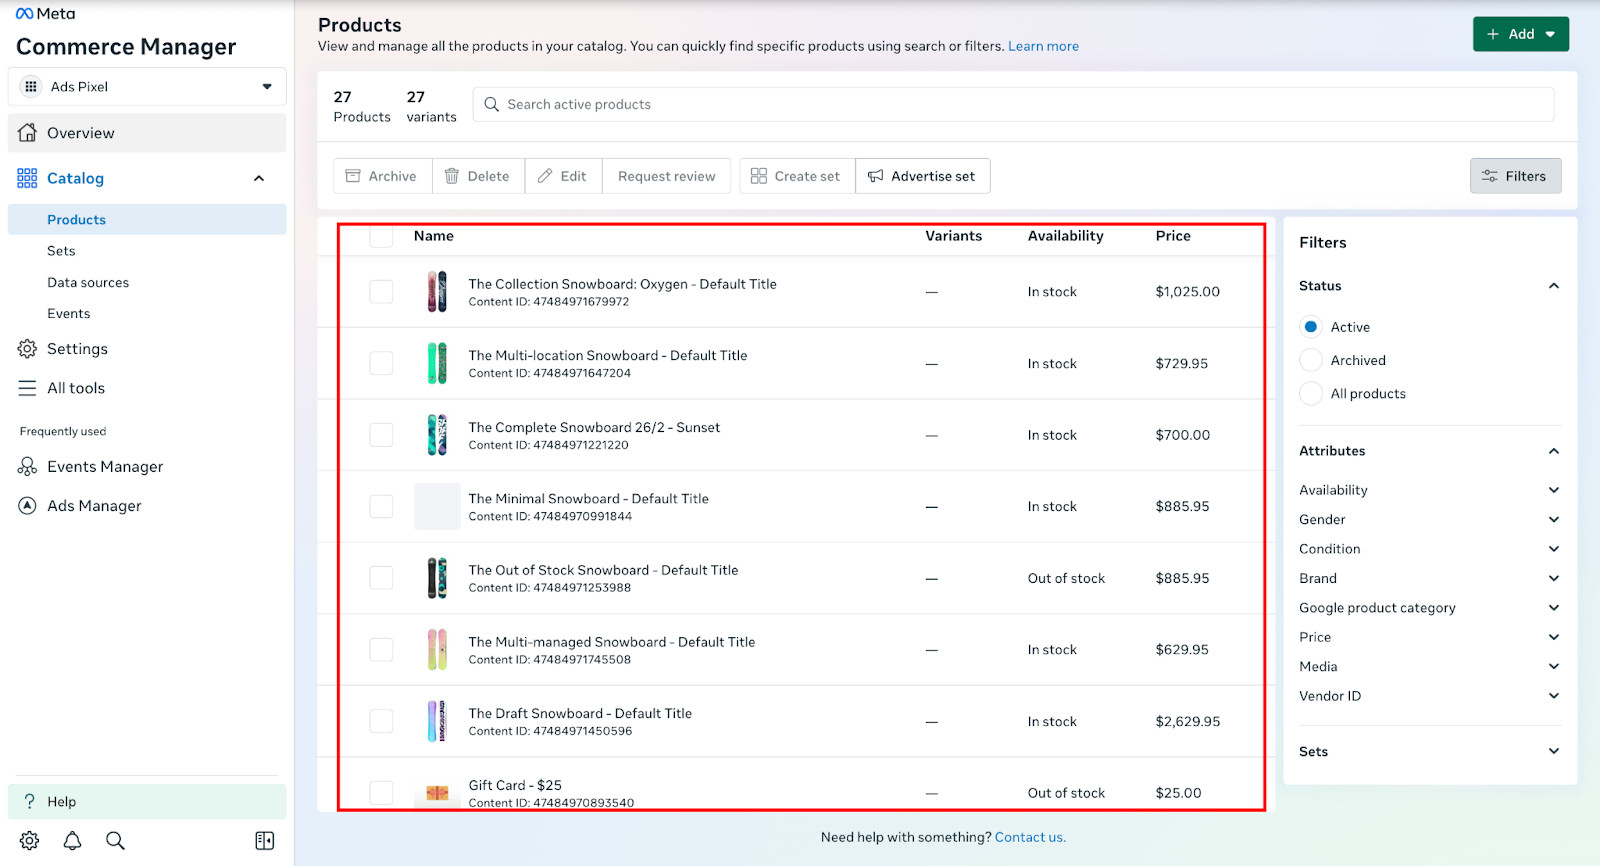
You can check the catalog status in: Catalog Manager inside the app or Meta Commerce Manager. https://business.facebook.com/commerce_manager

2.Click "Open in Commerce Manager" to manage the Catalog.

3.Make sure products are successfully synced and ready for advertising.
Still need help?
Our support team is available 24/7. Contact support →