

Notification Configuration
The Notification section allows you to create, manage, and deliver push notifications to your app users. Notifications help you drive engagement, promote…
Overview
Overview
The Notification section allows you to create, manage, and deliver push notifications to your app users. Notifications help you drive engagement, promote products, announce campaigns, and bring customers back to your app.
This section typically includes three main areas:
- Manual Notification – send one-time notifications manually
- Automated Notification – create notifications triggered by predefined events or rules
- Segment – define and target specific groups of users
Using these features together helps you deliver more relevant messages to the right audience at the right time.
1. Manual Notification
What is Manual Notification?
Manual Notification allows you to create and send a notification manually whenever needed. This is useful for one-time campaigns, flash sales, urgent announcements, product launches, or seasonal promotions.
Examples:
- New collection launch
- Limited-time discount
- Holiday campaign
- Storewide sale
- Important service update
What You Can Configure
When creating a manual notification, you can usually configure:
- Notification title
- Message body
- Image or banner (if supported)
- Target audience
- Redirect destination
- Send timing
Depending on the system, you may also be able to:
- Schedule the notification for later
- Send a test notification
- Preview how the notification will appear
How to Create a Manual Notification
- Go to Notification
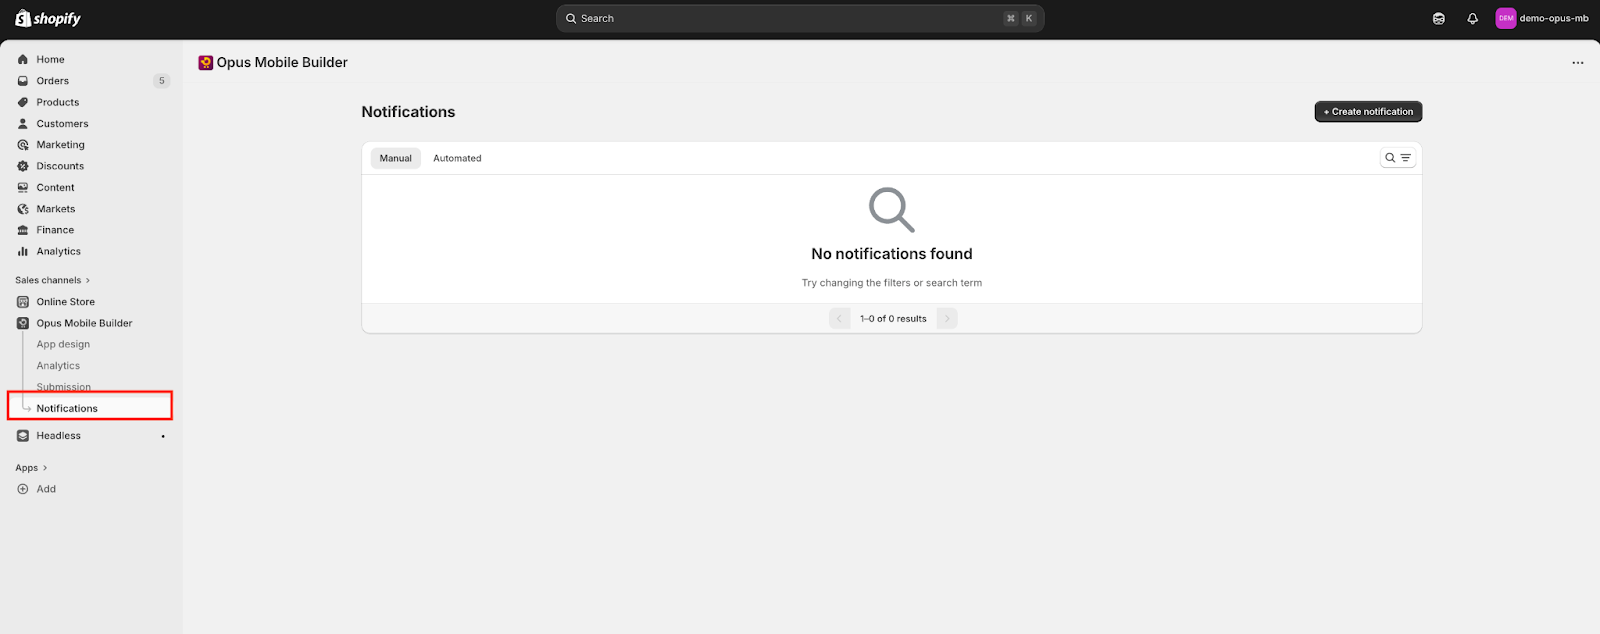
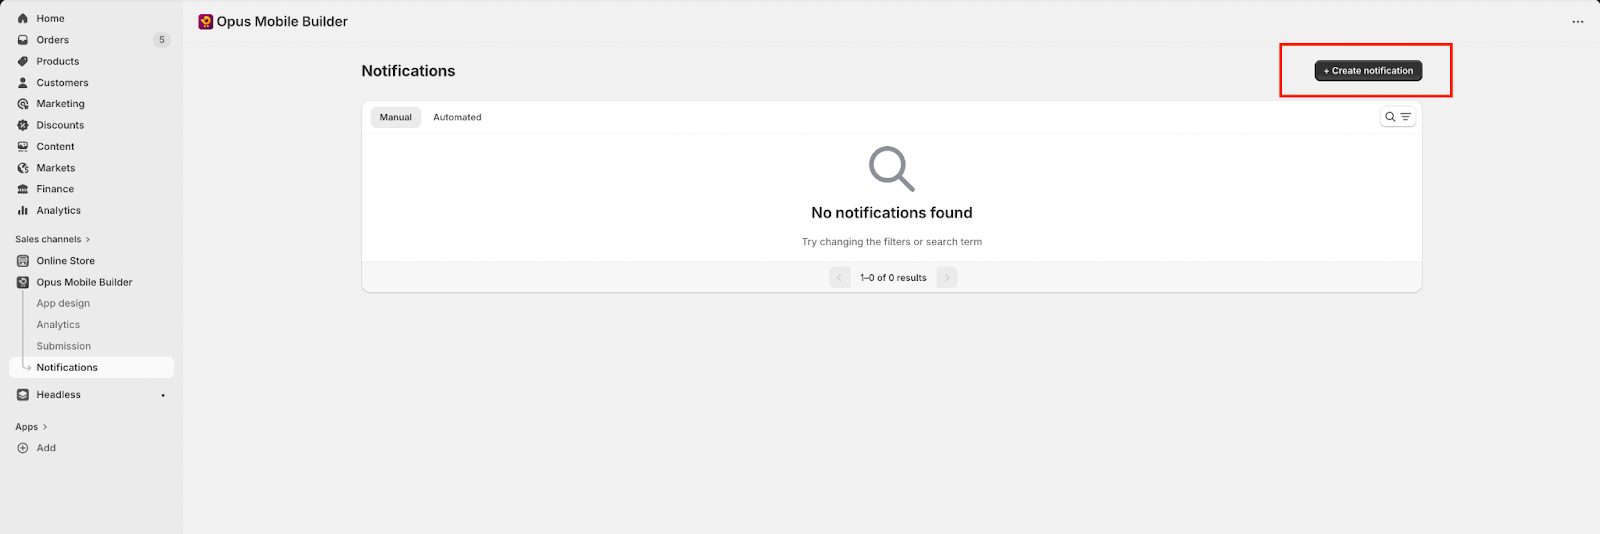
- Click Create Notification
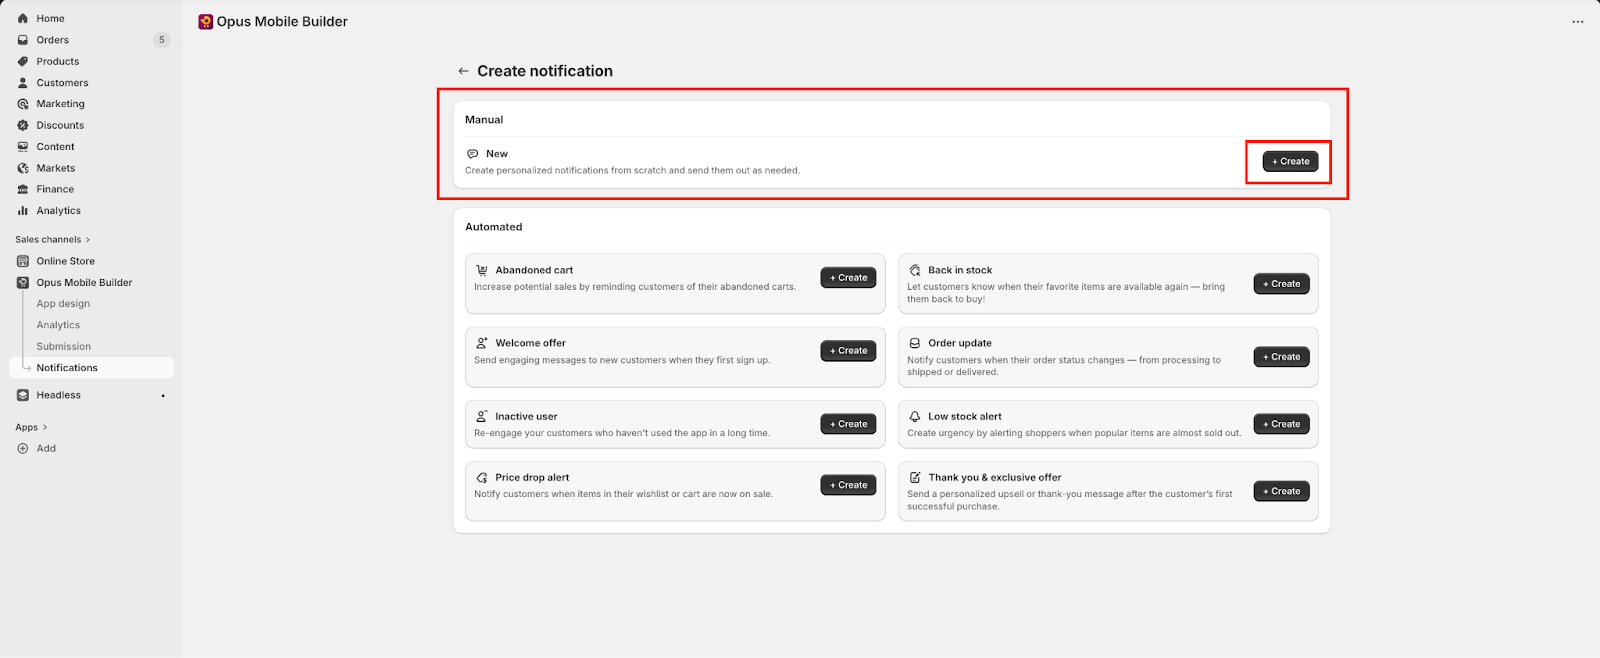
- Click “Create” in the Manual section
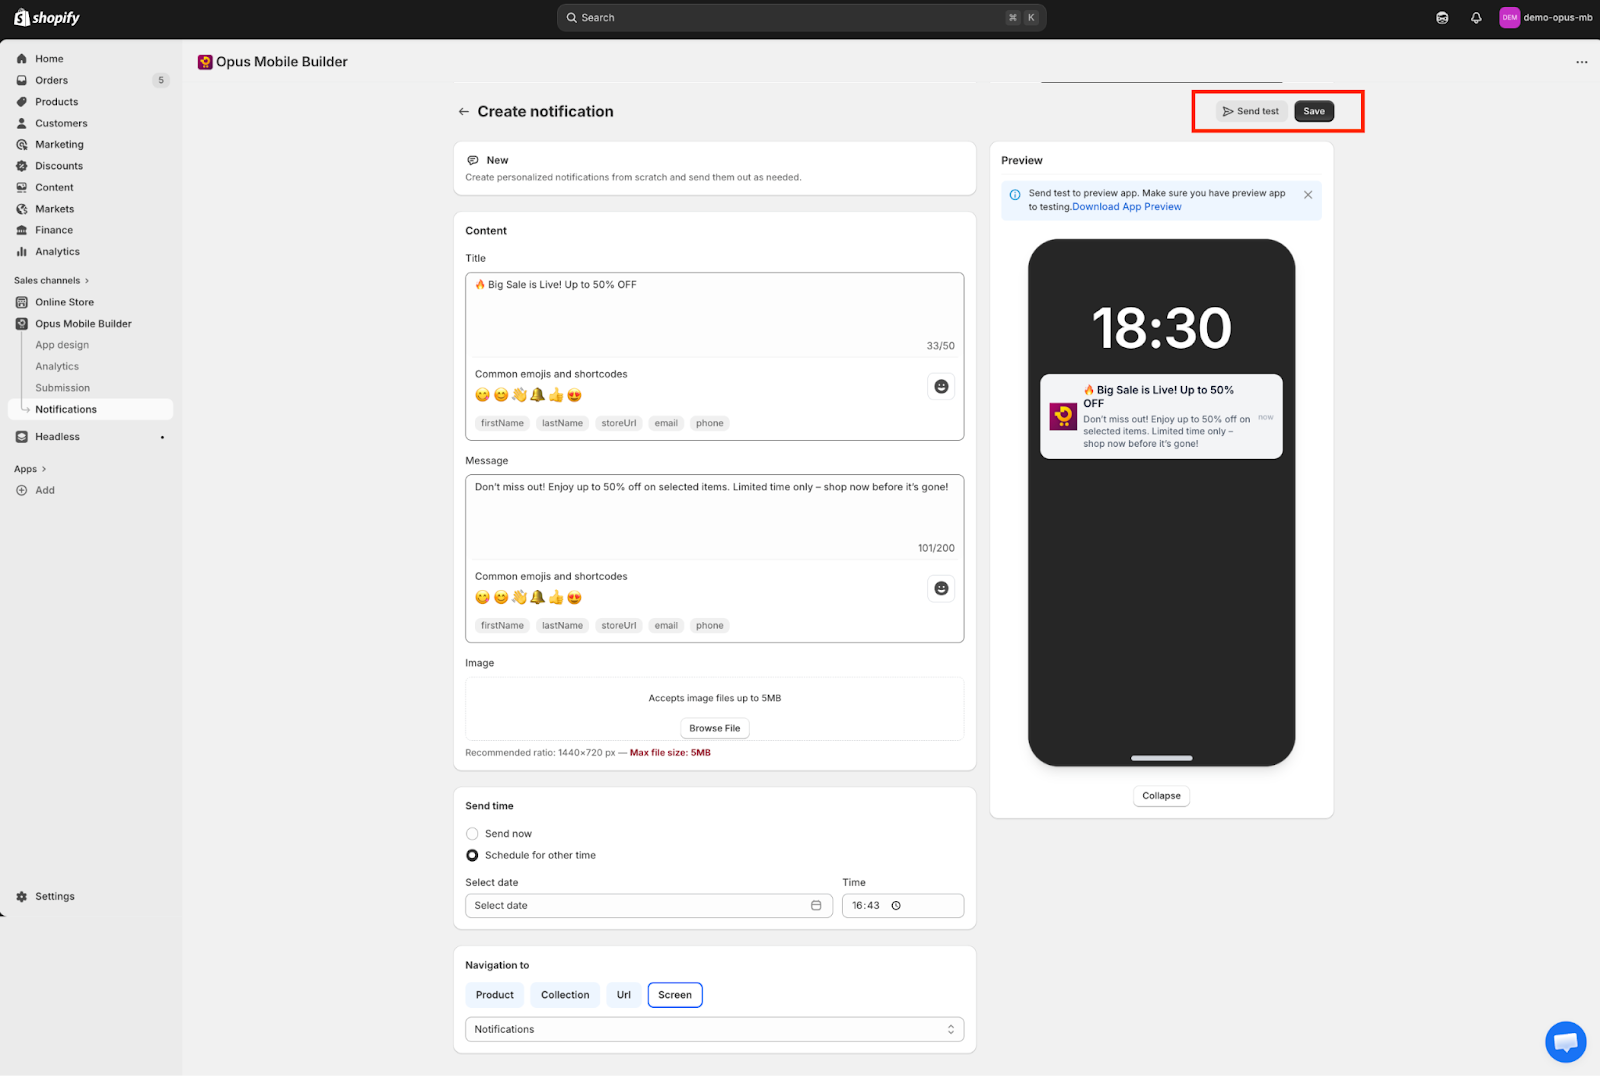
- Enter the notification title
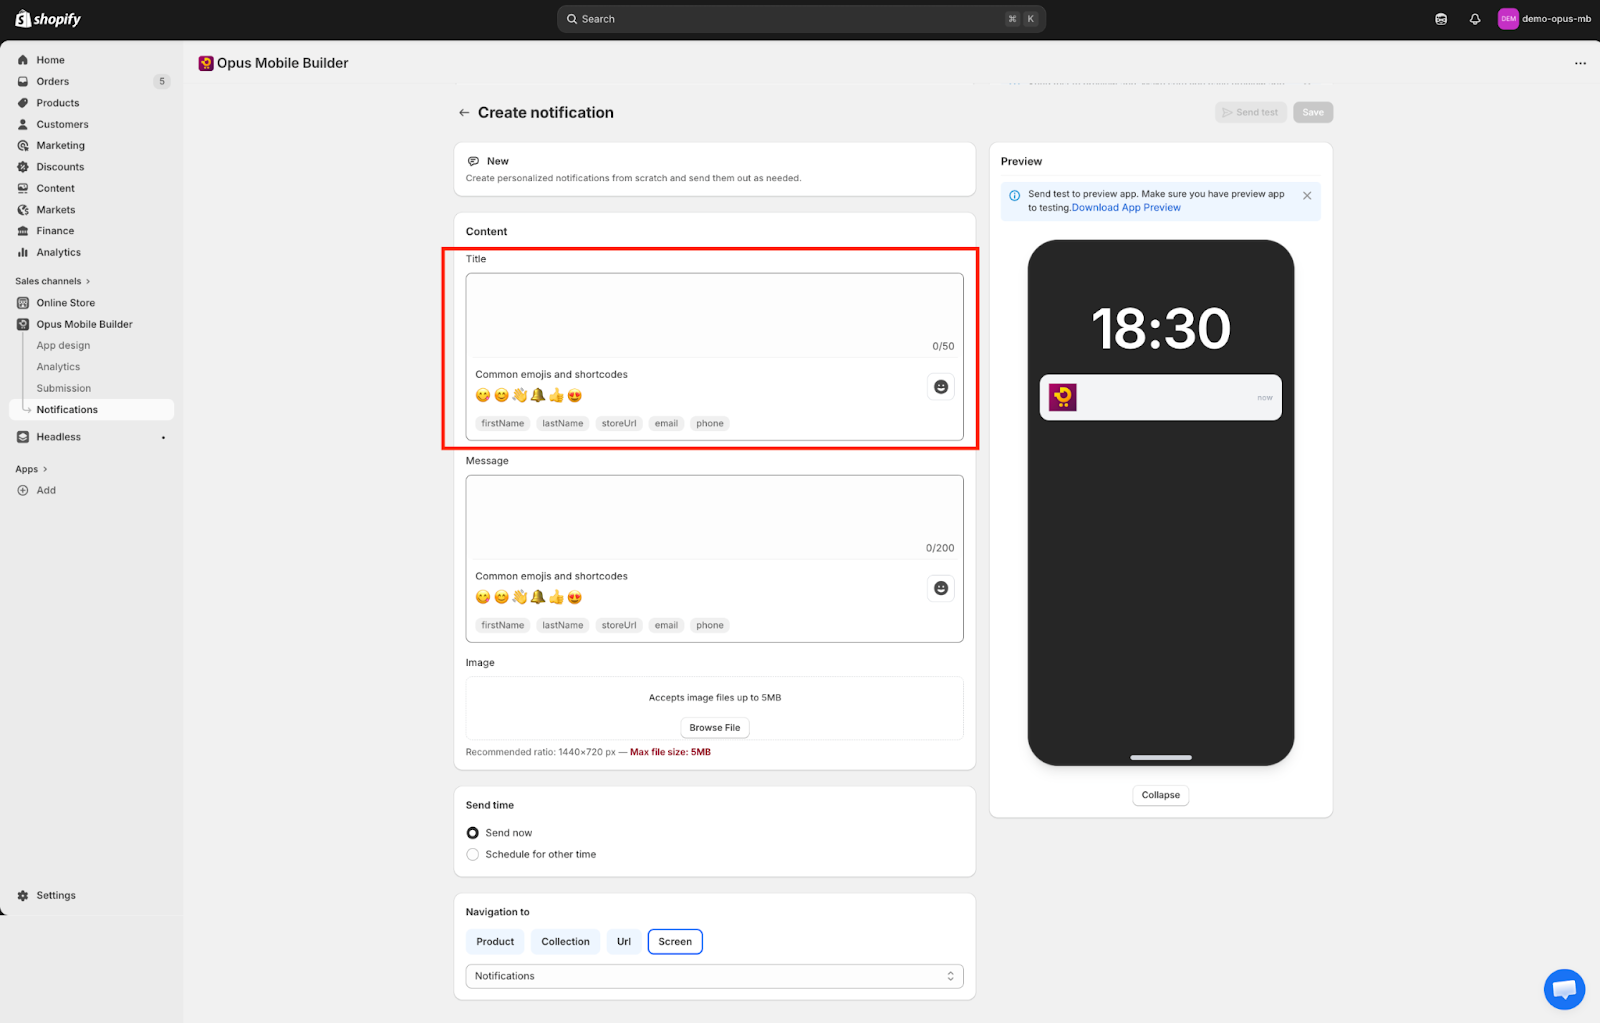
- Enter the message content
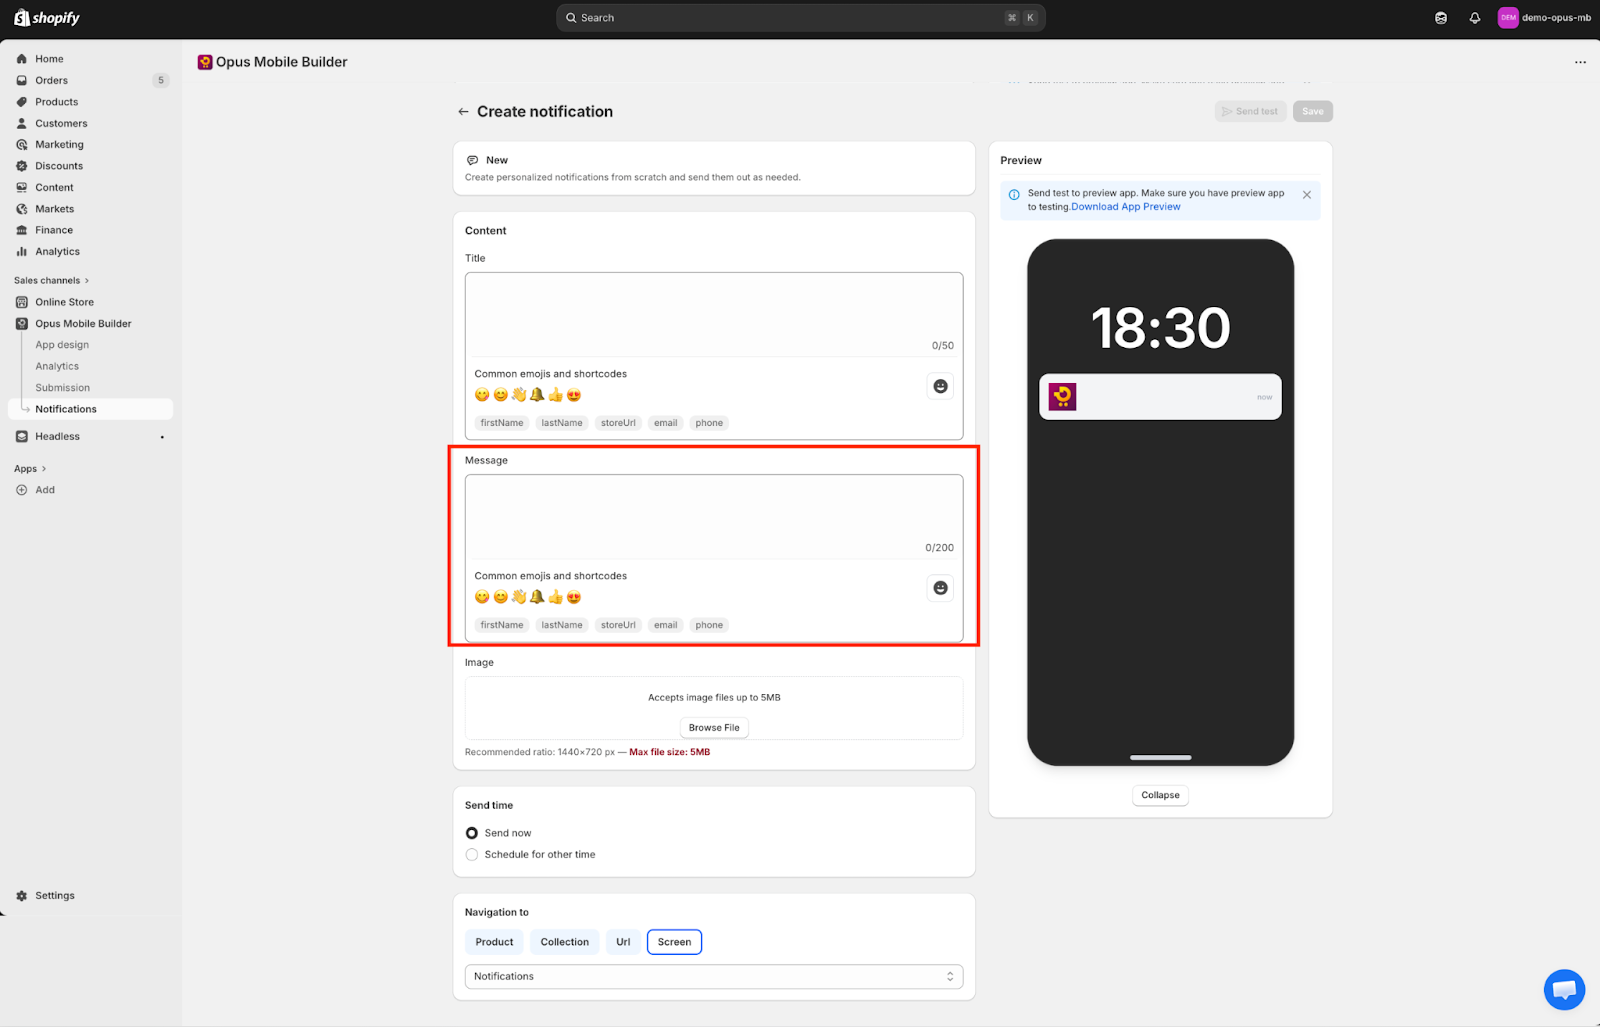
- Upload an image (If needed)
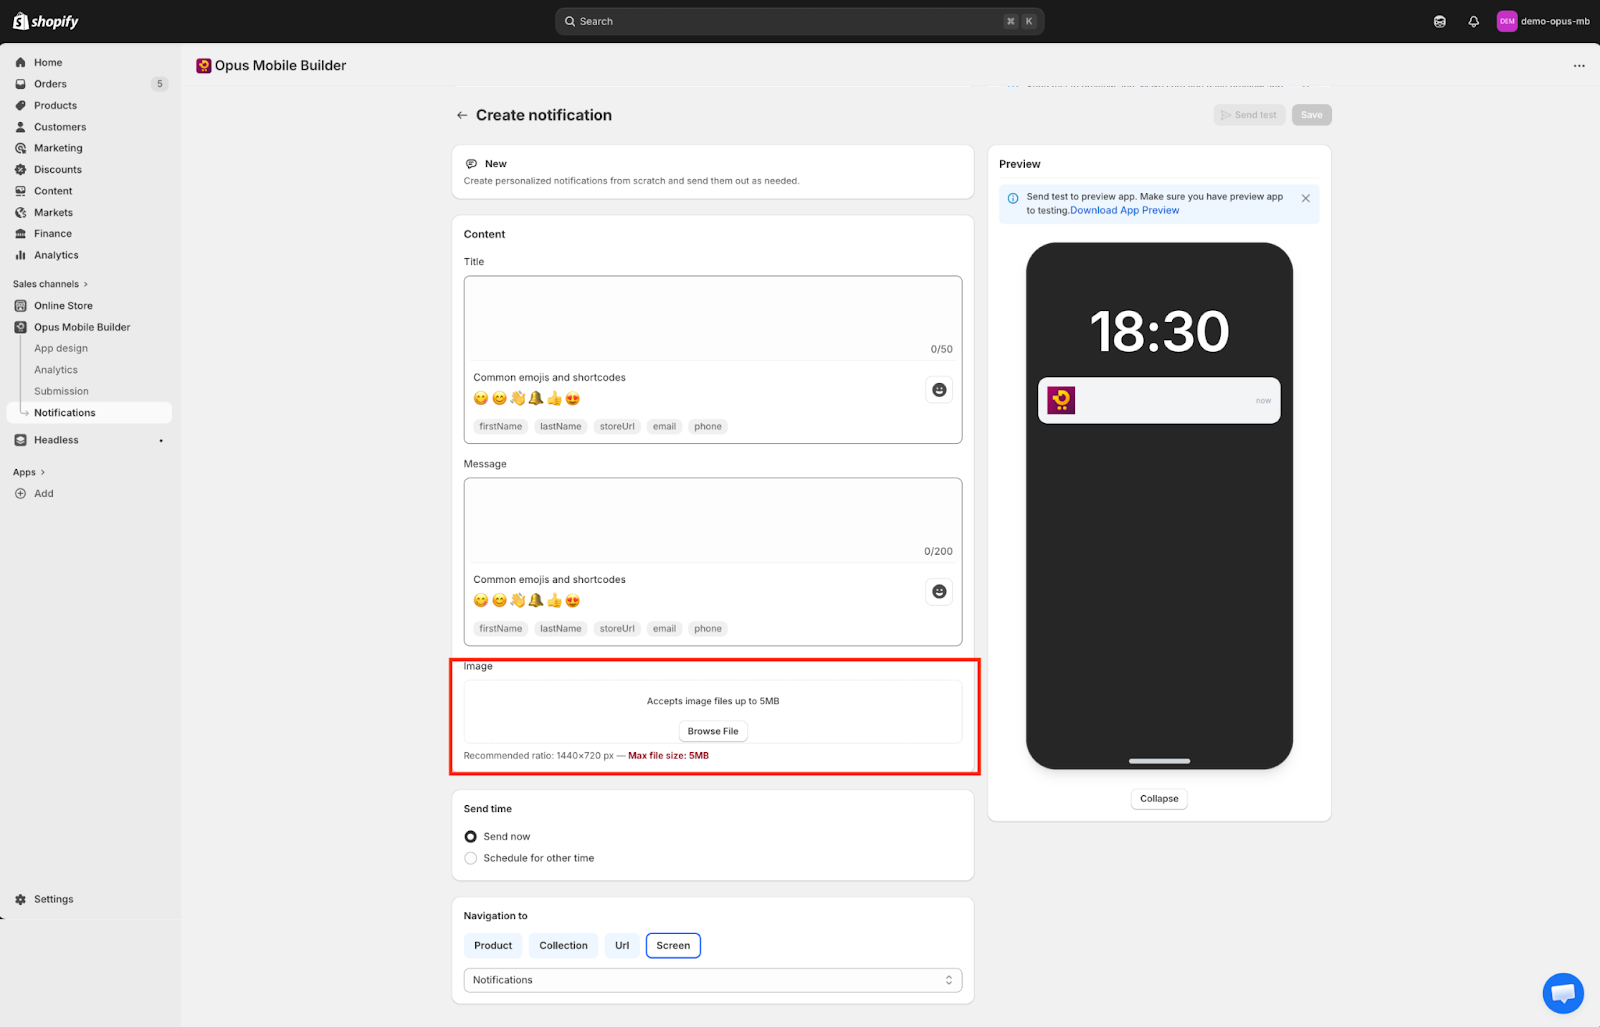
- Select the target audience
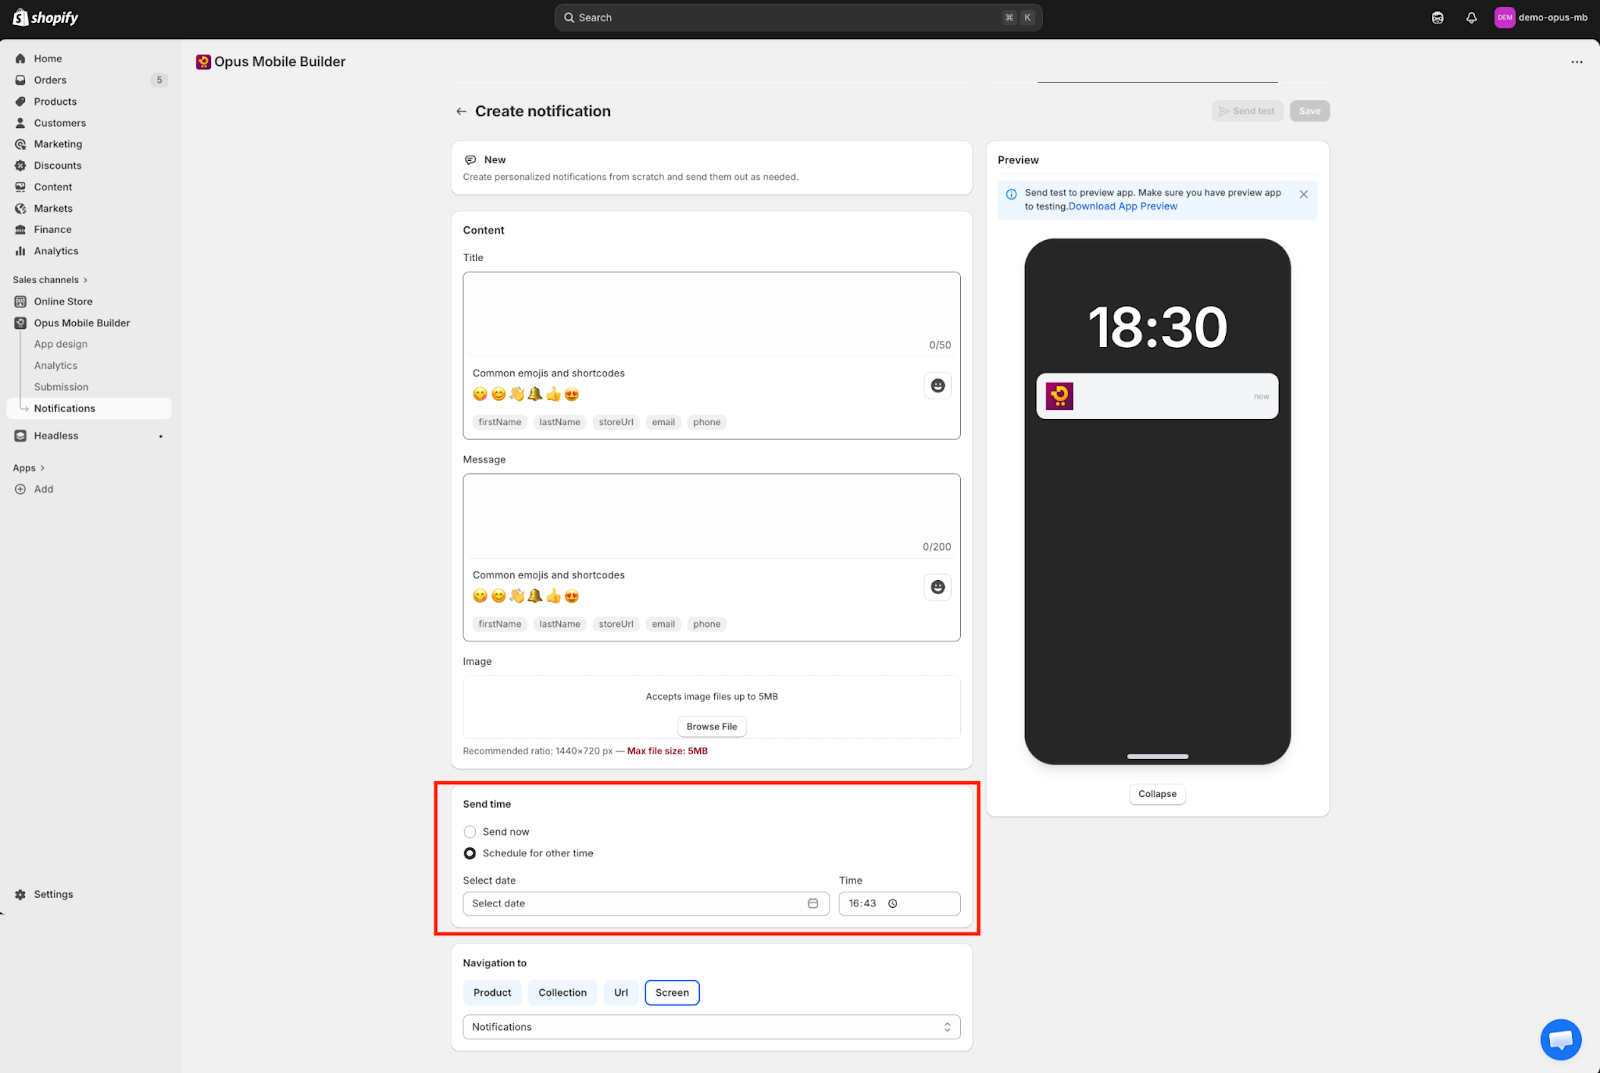
- Choose whether to send now or schedule for later
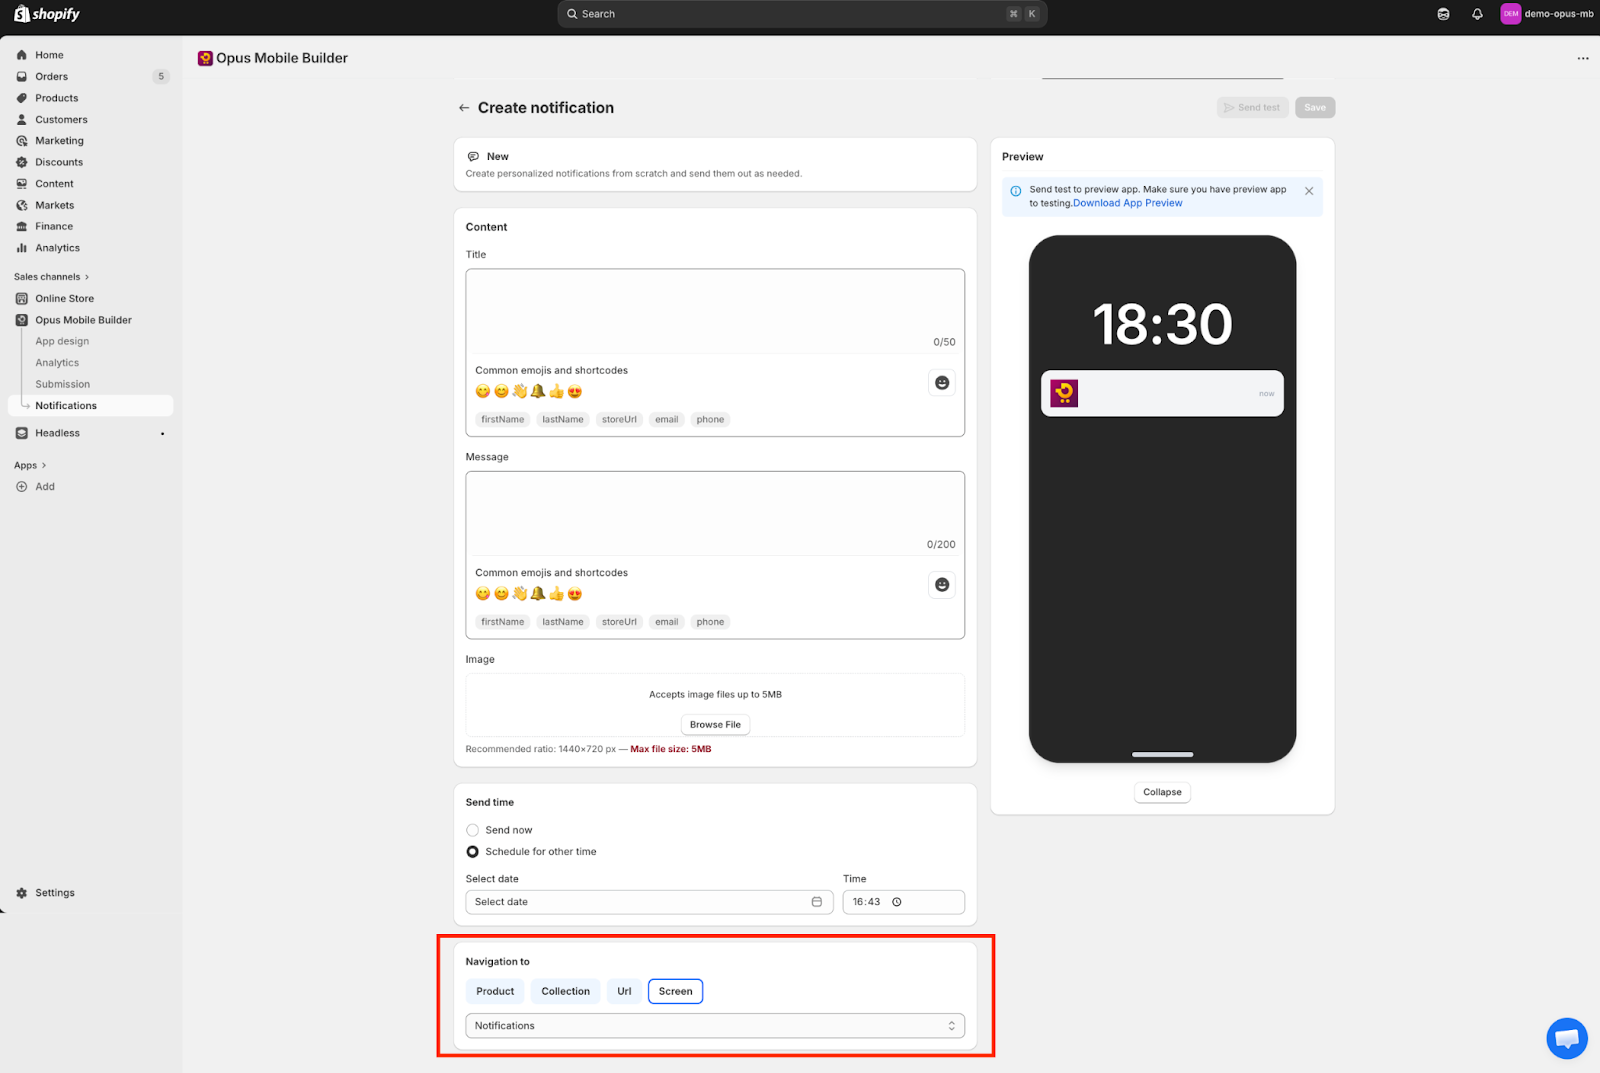
- Choose the redirect action or destination
- Review the content and click Send test or Save
- Send test: The notification is pushed to the app preview so the merchant can review how it appears.
- Save: The notification is saved to the system and sent to the merchant’s customers.
Redirect Options
A manual notification can usually redirect users to a specific location inside the app, such as:
- Home page
- Collection page
- Product detail page
- Custom page
- Promotion page
- Cart
- External link
Choose a destination that matches the purpose of the notification so users can take action immediately after opening it.
Best Practices for Manual Notifications
- Keep the title short and clear
- Use concise, action-oriented copy
- Highlight one main message only
- Make sure the redirect destination matches the message
- Avoid sending too many notifications in a short period
- Test the notification before sending to all users
Example
Title: New Summer Collection Message: Explore our latest summer styles and shop your favorites now. Redirect: Summer Collection page
2. Automated Notification
What is Automated Notification?
Automated Notification allows you to send notifications automatically based on specific triggers, events, or user behaviors. This helps you maintain engagement without sending every message manually.
Automated notifications are useful for lifecycle communication and retention campaigns.
Examples:
- Welcome notification after app install
- Reminder for abandoned cart
- Order status updates
- Re-engagement notifications for inactive users
- Promotion reminders based on timing or behavior
Common Use Cases
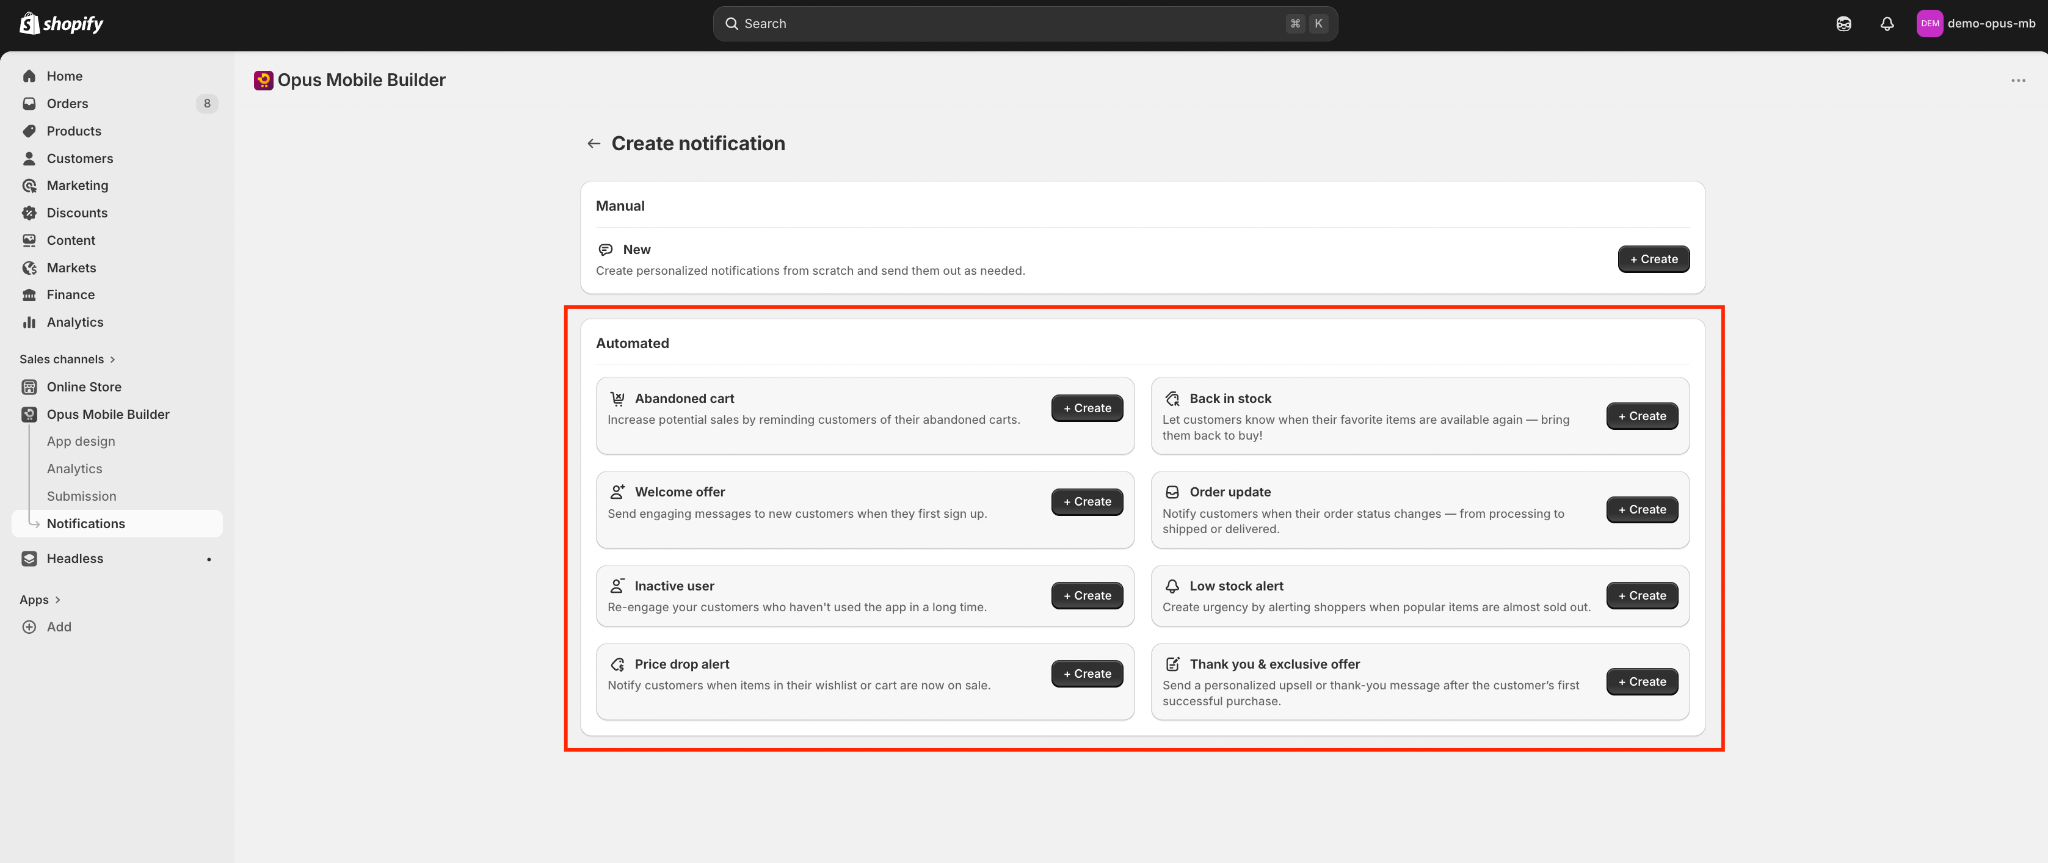
Typical automated notifications may include:
- Welcome notification
Sent after a user installs or opens the app for the first time
- Abandoned cart reminder
Sent when a user adds products to cart but does not complete checkout
- Back-in-stock alert
Sent when an interested product becomes available again
- Promotional campaign reminder
Sent automatically during a sales period
- Inactive user reminder
Sent to users who have not opened the app for a defined period
- Order and delivery updates
Sent based on order lifecycle events if supported
What You Can Configure
When setting up an automated notification, you may be able to define:
- Automation name
- Trigger condition
- Target audience
- Notification content
- Delay timing
- Redirect destination
- Active / inactive status
Some systems may also support:
- Frequency limits
- Trigger filters
- Sending windows
- Exclusion rules
How to Create an Automated Notification
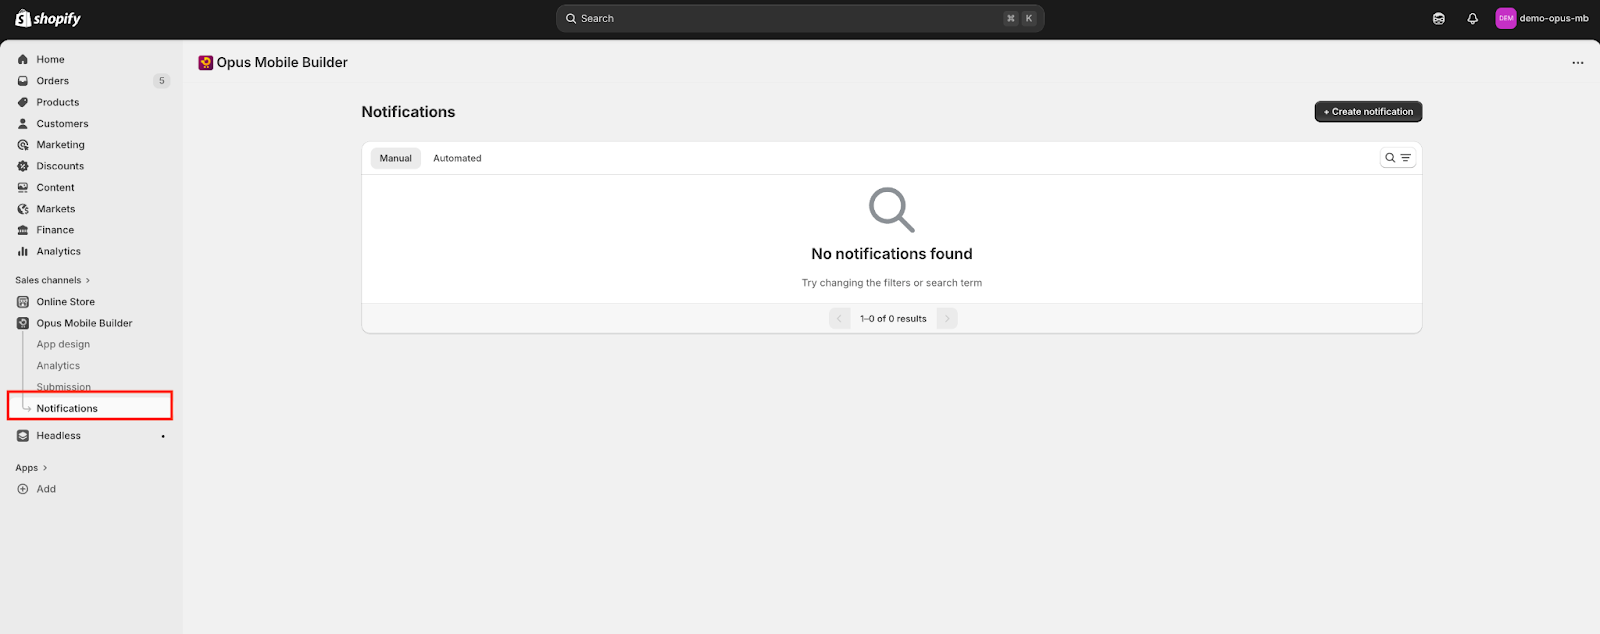
- Go to Notification
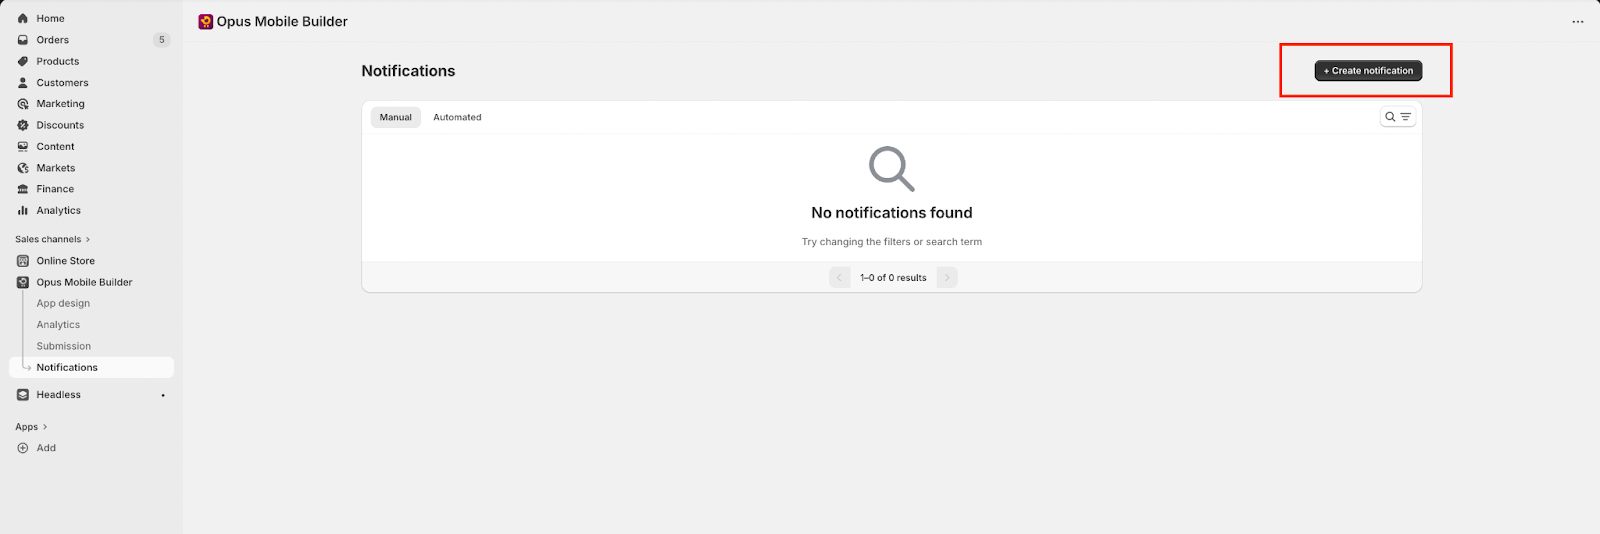
- Click Create Notification
- Click “Create” in the Automated section
- Enter a name for the automation
- Select the trigger type
- Define the target audience or conditions
- Write the notification title and message
- Set the redirect destination
- Configure timing or delay rules
- Review the automation
- Activate the automation
Trigger and Timing Logic
Automated notifications are usually triggered by system events or user actions. Depending on the feature set, you may define rules such as:
- Send immediately after a trigger
- Send after a delay
- Send only once per user
- Send only during certain time windows
- Exclude users who already completed a certain action
Example:
- Trigger: User added item to cart
- Condition: No purchase completed
- Delay: 2 hours
- Action: Send abandoned cart reminder
Best Practices for Automated Notifications
- Use automation for recurring lifecycle messages
- Make the content relevant to the trigger
- Avoid sending duplicate or excessive reminders
- Use timing carefully so the message feels helpful, not intrusive
- Review automation performance regularly
- Pause or update underperforming automations when needed
Example
Automation name: Abandoned Cart Reminder Trigger: Cart created but checkout not completed Delay: 2 hours Message: You left something behind. Complete your purchase before it’s gone. Redirect: Cart page
\
Still need help?
Our support team is available 24/7. Contact support →